
HOW TO BREW BEER
 1:11 PM
 Bryan
, Posted in
Bryan
, Posted in
Here is my step by step guide to how I brew. There’s a bunch of pics and stuff for you guys to look at, and additional tidbits of information that I have learned in all the research I have done over the last month and a half. I hope its helpful! First and foremost, you have to learn to...
This is a common saying amongst homebrewers haha. I love it. Basically, its extremely hard to frick up your beer. You have to really try. And since this is your first batch, you will probably go overboard in trying to do everything perfectly, which means your beer is going to be fantastic. So don’t worry about it! On a side note, if you have not read the "STUFF YOU NEED TO BREW BEER" or "BABIES FIRST RECIPE..." posts, I highly suggest you do before reading this.
LETS DO THIS!!!
STEP 1- Chill some homebrew!
 |
| My Hefeweizen and Blackberry Red Ale (brooklynbrewshop.com) |
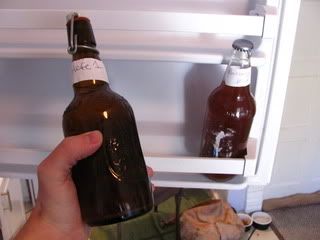
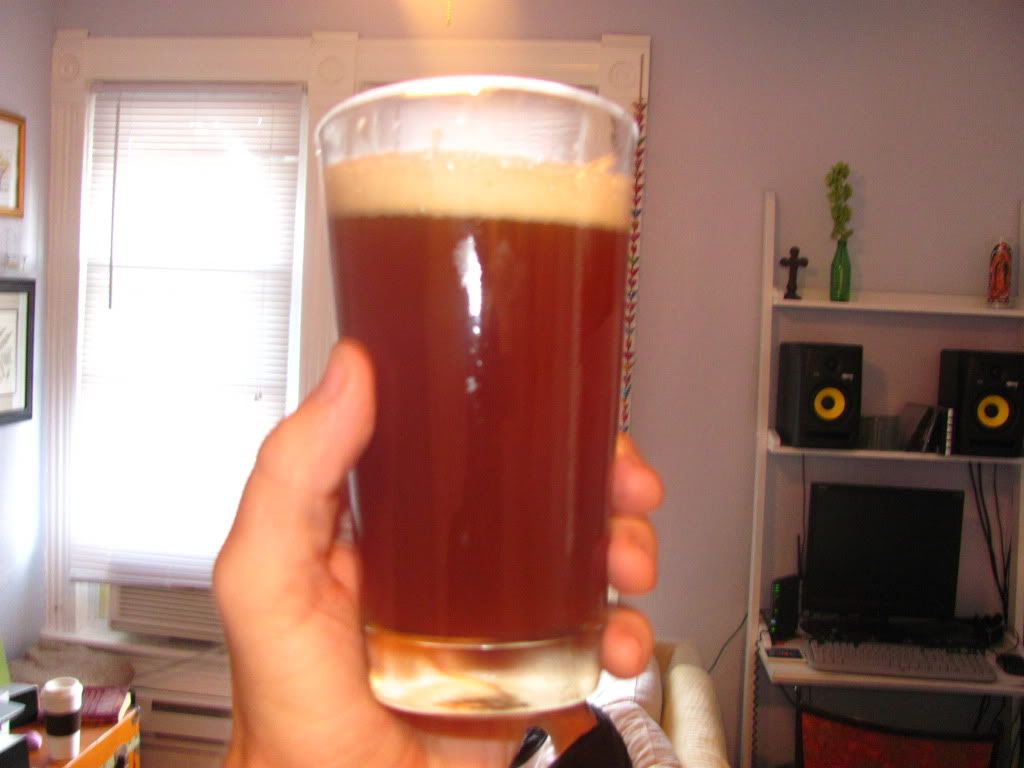
O hell ya. Brewing is so much more awesome when you are also drinking homebrew. If you have no homebrew, go grab a 6 pack of your favorite. Don't drink too much though, or you might have TOO much fun and frick it up! Better yet, drink homebrew while homebrewing and reading up about homebrewing.

STEP 2- Sanitize your shit!
 |
| DIE BACTERIA DIIIIIIIIIIIIIIIIIIIEEEEEEEEEE |
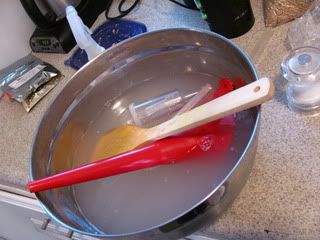
This is the easiest way to ensure that you have amazing brew. There are evil bacteria out there that want to live in your beer and eat all the sugar before your yeasties get a chance. By sanitizing, you are making sure that your yeast has a good environment and all the fermentable sugars it needs to get you krunk.
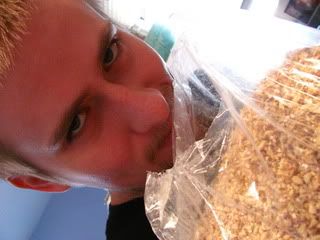
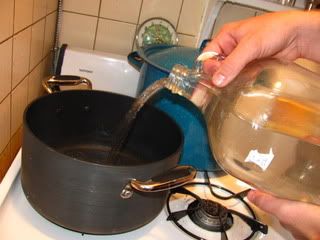
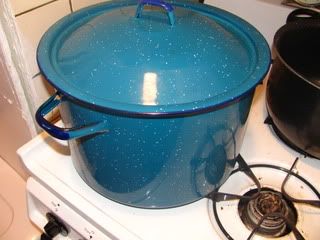
STEP 3- Heat up 1 quart of water per pound of grain to 166 degrees Fahrenheit in your BIG brew pot.
While its heating, smell your grains.... mmmmmmmmmmm...
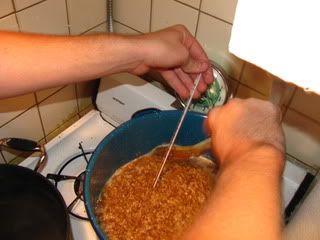
STEP 4- MASH IN! Turn off the heat and dump in your grains.

Stir it up for a minute or so, and check the temperature.
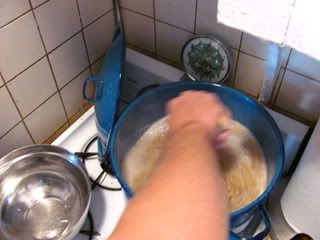
It should be around 145-154 degrees. If it is, put the lid on it and set your timer for one hour.
TRY to hold it at exactly 154. Check your mash every 5-10 minutes to make sure temperature is on target. If you need to add heat, do so while mixing the mash. If its too hot, thrown in a couple ice cubes. Too hot is over 160 degrees.
While this is going, start heating 1 gallon of water to about 170 degrees. You will need this in step 6.
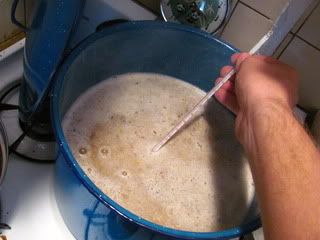
STEP 5- MASH OUT! Mashing out is the process of raising the temperature of your mash to about 165 degrees while stirring over the course of 5-10 minutes. You will start mashing out as soon as timer goes off.
DON’T LET IT GET OVER 170 DEGREES! If it DOES get over 170, your beer will turn out TERRIBLE and your wife will turn into a zombie.

Just kidding. If it gets over 170... relax, don't worry, have a homebrew!

Turn off the heat and head to step 6!
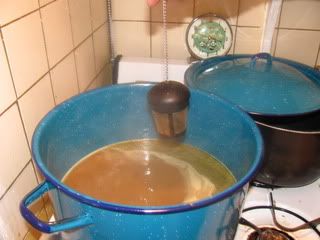
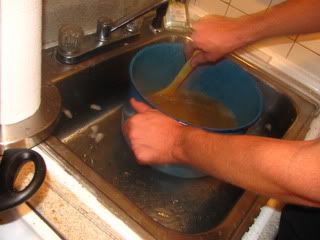
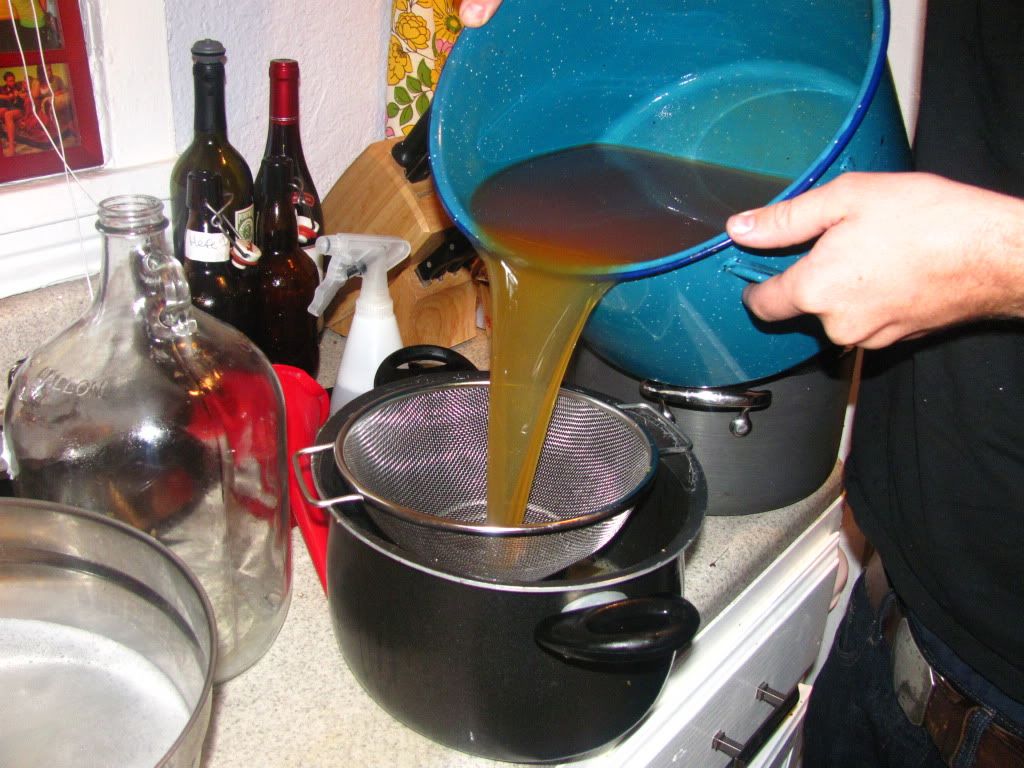
STEP 6- THE SPARGE/LAUTER! Sparging and lautering is basically removing your wort (sweet liquid) from the spent grains, and then running hot water through the grains to get every last bit of fermentables out of them. Put a strainer over a pot and dump your grains in.
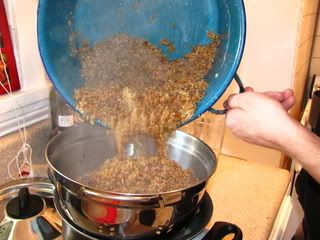
Having another homie around to help with this step makes it much easier.

Rinse your big boil pot while the grains strain (rhyme HOLLER), transfer the strainer/grains over to the big rinsed out boiling pot, and recirculate the wort from your other pot.
THEN take the 170 degree water and pour it evenly, to get the remaining sugars.
 |
| Oooo baby gimme those fermentables. |
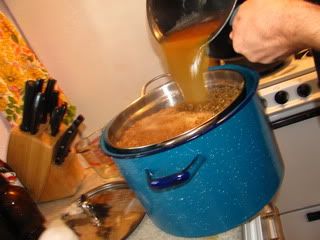
This will be a 1 gallon batch, but collect about 1.4 gallons of wort!!! The reason is that in the boil you will boil off 20-40 percent of your wort. No worries, fermentables stay behind. Better too much than too little, but you should have no problem getting exactly 1.4 gallons. I marked the outside of my big boil kettle so I know when I have enough.
 |
| Mmm... beer... |
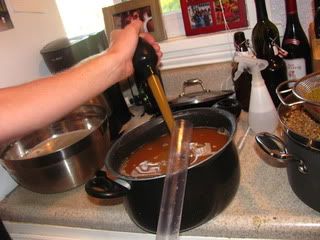
STEP 7- THE BOIL! Transfer all your delicious sweet wort over to your stove.
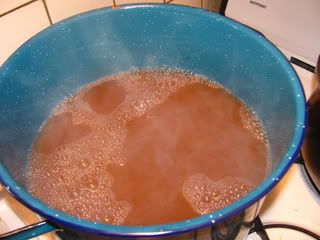
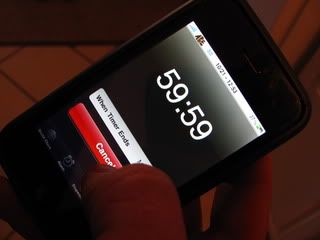
Turn it on high and bring it up to a boil. Stir occasionally. I will usually add the lid back on to help it retain heat, but it is VERY important to take it off once it gets up to a boil. Once it starts to boil, set your timer for one hour.
Also, while its heating up, Ill usually let my strainer sit over another pot.

Right when the wort starts to boil, Ill add whatever wort is in there. If you have 1.4-1.5 gallons of wort, you shouldn’t have to do this... but i do anyways just in case.
STEP 8- Add your bittering hops! Do this as soon as you set your timer for 1 hour. Stir it up, enjoy the aroma. Best smell ever. Especially Chinook.

With the recipe I gave here, this will be your only hop addition step. Set your timer for one hour, and let it boil. This should be a LIGHT boil! All that is required is a constant exchange of surface area.
This is also a great time to pour yourself another homebrew.
Also, Amanda and Buster say HI

Just a side note on hops. Long story short, the potency of hops can fluctuate throughout the year. The important thing to look for is the alpha percentage. This will tell you how bitter the hops will be when boiled. A higher percentage means the hops will be more bitter when compared with another type that has a lower percentage.
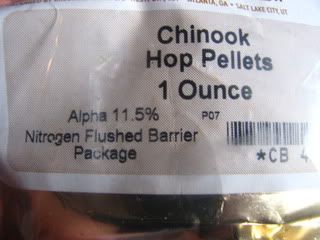
I had to change the amount of hops for this particular recipe at the last second because the program I used to create the recipe (Beersmith) had Chinook at 13%. Had I not adjusted for the lower potency (11.5%), the beer would have come out almost 10 IBU’s less bitter. Not good when you are brewing an American IPA!
Hops also have a very distinct taste and aroma. This comes from adding finishing hops (hops with a lower alpha %) at the end of the boil for no more than 10 minutes. You can get even better aroma by steeping some hops for no more than 2 minutes, like I did with this brew.
 |
| Adding a mix of Cascade and Chinook to a tea thingy |
 |
| Steeping the hops! Smells so goooood |
Put your leftovers in a zip-lock bag (make sure to get all the air out) and store em in the freezer!

Anyway, back to brewing.
STEP 9- Cool the wort. Stick it in an ice bath. I sometimes stir it like mad with a sanitized spoon. It will cool quicker and will help aerate the wort, which rules because your yeast needs oxygen to live.
You need to cool it to under 80 degrees as fast as possible. From this point on, you are on a race against bacteria. The shorter the time period between you taking the wort off the burner and putting it in your primary fermenter, the better.
While wort is cooling, sanitize your jug.
STEP 10- So close! The boil is done! Your wort is cool! Only a couple more things to do before you stick it in the closet and forget about it for a couple weeks.
IT IS EXTREMELY IMPORTANT AT THIS POINT TO SANITIZE EVERY STUPID THING THAT COULD POSSIBLY COME IN CONTACT WITH YOUR BEER. YOUR HANDS, THE COUNTERS, YOUR SPOON, EVERYTHING!!! STEP 9 GOES ON UNTIL YOUR WORT IS IN THE CLOSET.
Boiling killed everything that might have snuck in before. Close your windows, and don't let anything that has not been properly sanitized touch your beeeeeeeeeeeer!!!!!!!!!
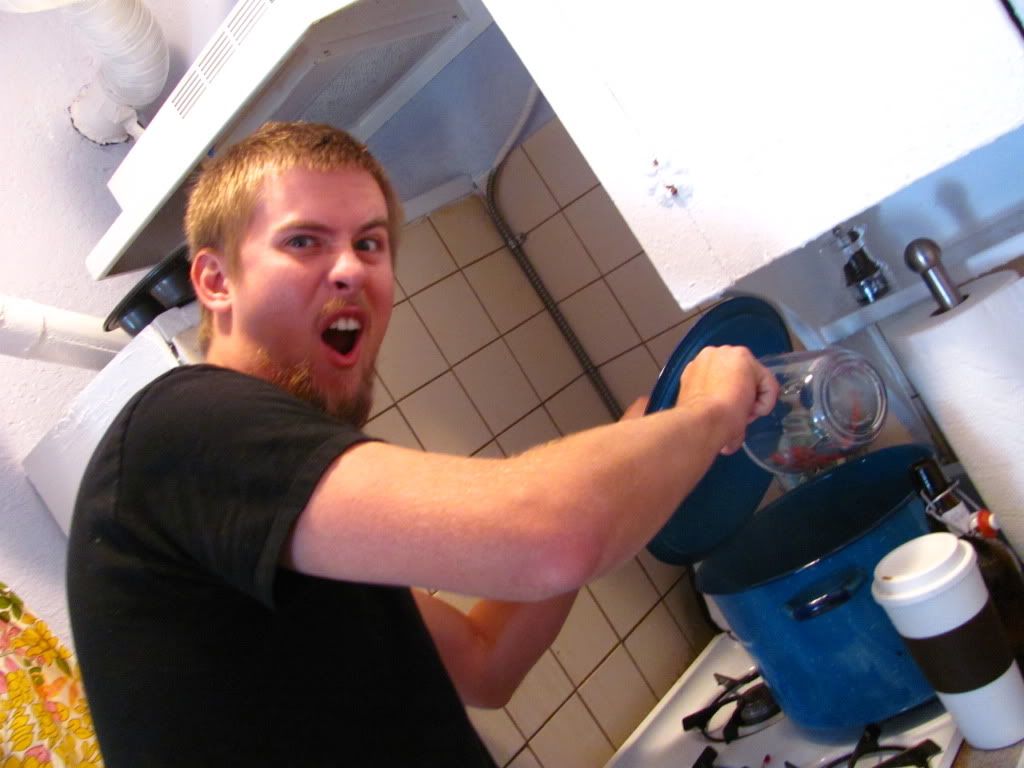
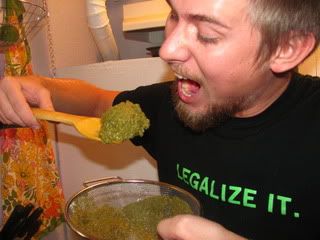
STEP 11- Strain the wort. This will get all the hops and random shiz out of the wort, and will help aerate it.
Pour the wort through the SANITIZED fine mesh strainer into a SANITIZED pot.
You could just pour it straight through the strainer into the jug, but that's hard.
Taste the deliciousness left behind! SNACK ATTACK!!!
 |
| SO GOOD |
LOLZ JK. Don’t eat it. Also don’t feed it to animals, it will kill them. Not kidding.
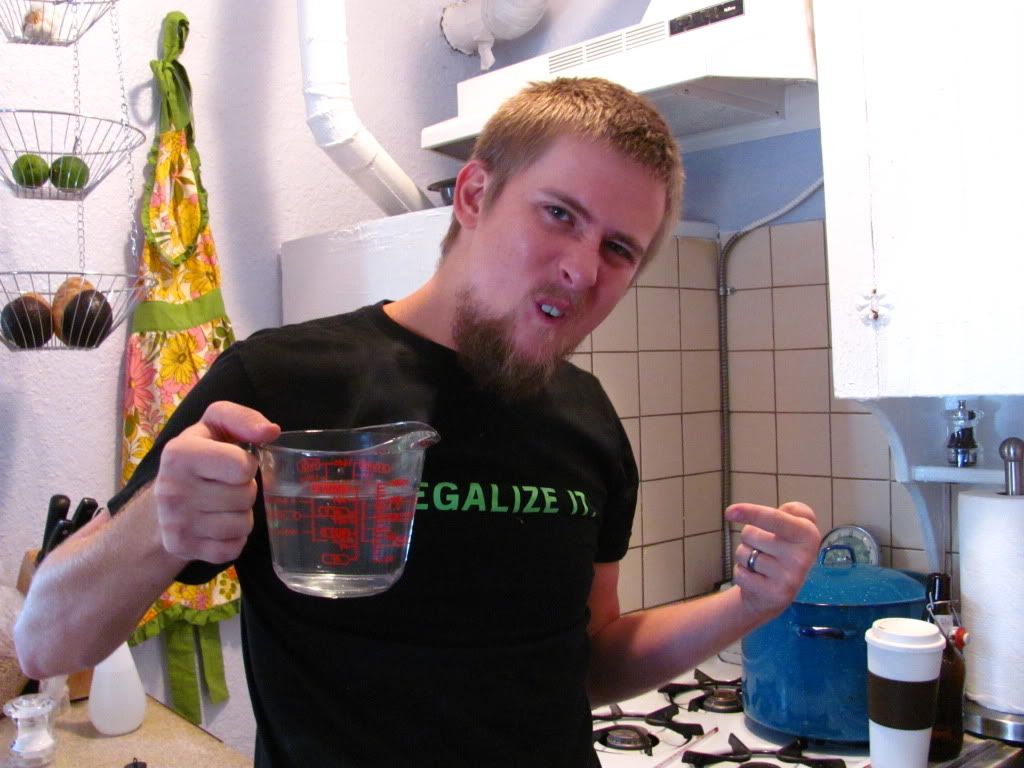
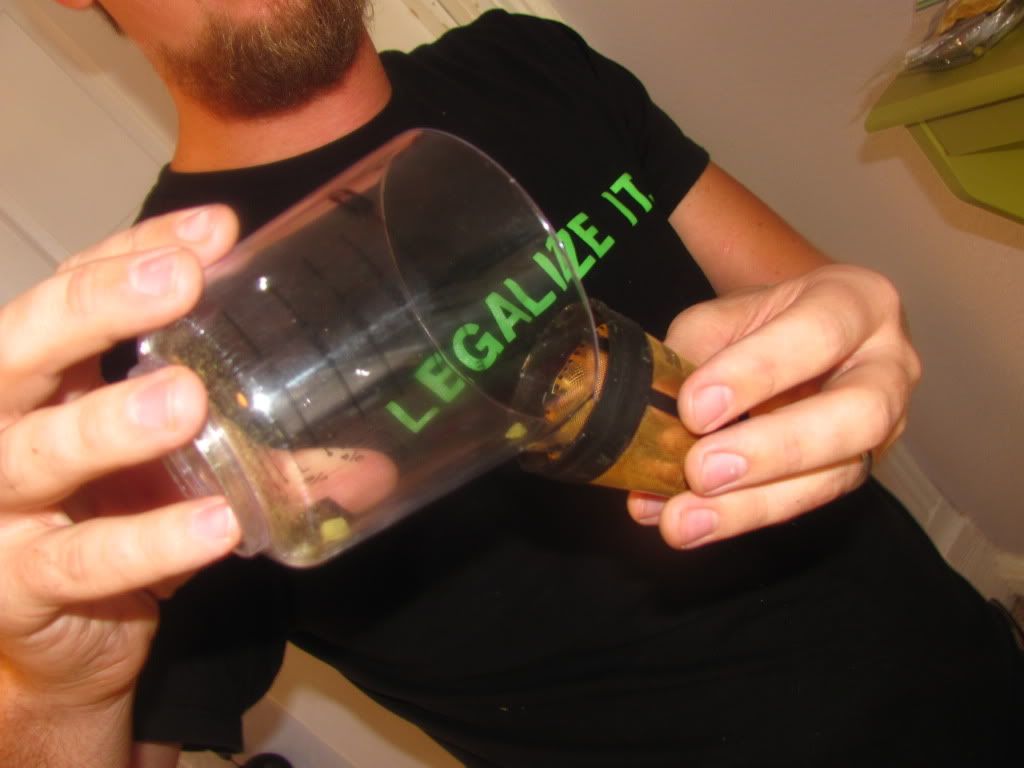
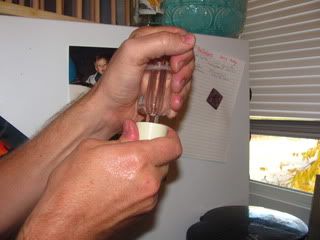
OPTIONAL STEP 11.5- This is a great time to take a gravity reading. This will require a hydrometer that you can buy for I think around 7 bucks. Don't let them sucker you into buying a flask, you can use the container it comes in.
Gravity readings tell you how much sugar is in your wort. Basically you take one before you put in in the fermenter, and another when its done. The number should go down, and this tells you how much of the sugar was turned into alcohol. Use a SANITIZED turkey baster to put some wort into the SANITIZED hydrometer container and then drop the SANITIZED hydrometer in.
 |
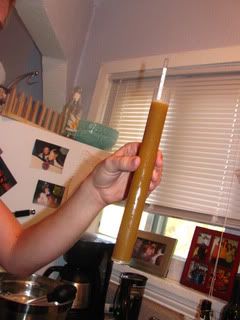
My gravity was at 1.075. Not to brag, but its literally EXACTLY AS I HAD PREDICTED. Bryan rules, you drool.
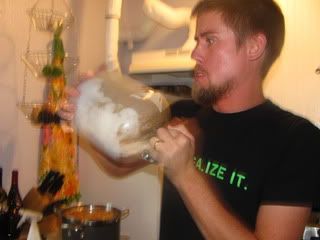
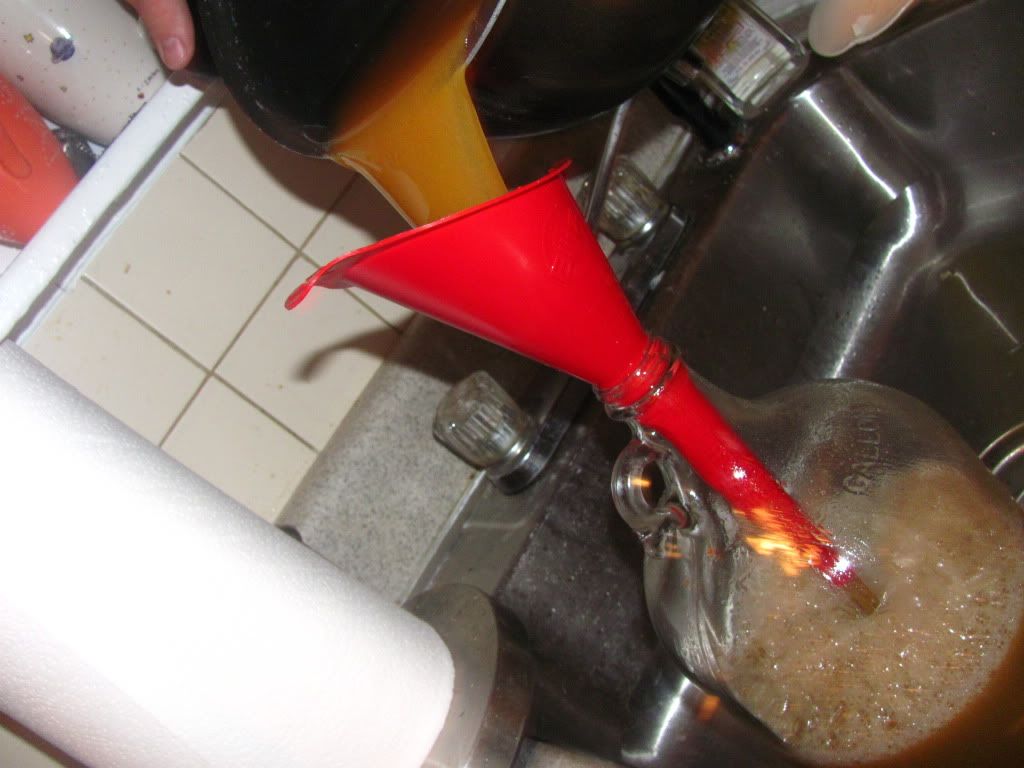
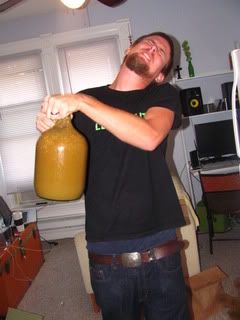
STEP 12- Fill the jug. Pour the wort from your SANITIZED pot into through the SANITIZED funnel into the SANITIZED jug.
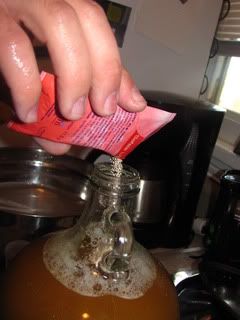
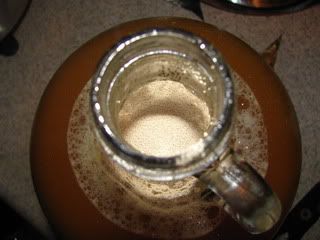
STEP 13- Pitch your yeast. Dump it in! You should only need to use half of the pack
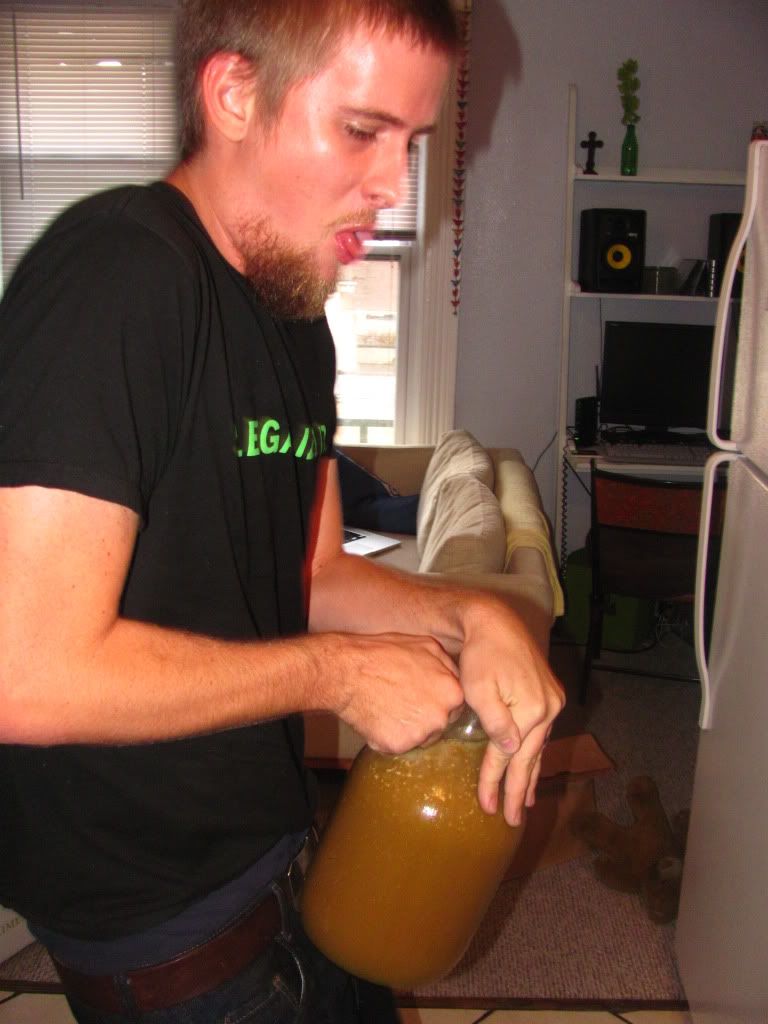
STEP 14- SANITIZE your hands and SHAKE
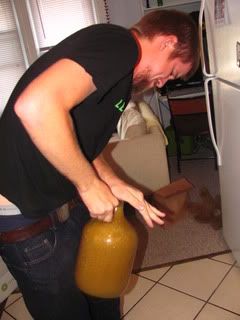
SHAKE
SHAKE!!!
 |
| Or hump... |
This will wake up your yeastie buddies and will help aerate some more.
STEP 15- Fill your SANITIZED air lock half way with water...

Stick it in your SANITIZED rubber cork...
Jam it into your jug and label it with the type of beer, when you brewed it and the original gravity reading.
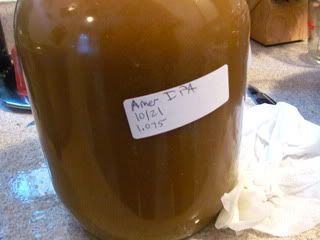
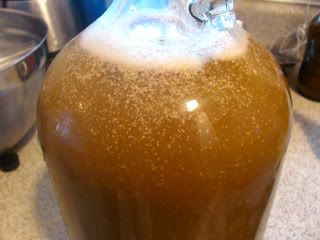
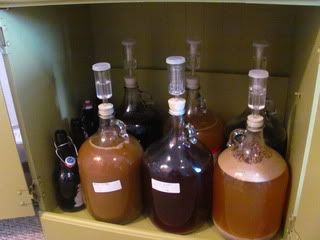
STEP 16- Put it in the closet away from direct sunlight! Done! Finito!
 |
| Yes... my pretties... |
Fermentation should start within a couple of hours. You will notice a layer of CO2 forming and possibly some gross looking stuff sticking to the sides on the top of the beer (see the brew on the far right), and the airlock should start bubbling. Technically, it CAN take up to 36 hours to show signs of fermentation, but mine have never taken longer than a couple of hours.
And that's it! I'm going to do the same thing with racking to a secondary fermenter and bottling.
I HOPE YOU FOUND THIS INFORMATIVE THANK YOU FOR LISTENING TO MY SPEECH.
0 Response to "HOW TO BREW BEER"
Post a Comment